Saturday, March 29, 2014

Carrie's applique quilt


Carrie brought me this amazing applique quilt that she was planning on entering in the upcoming Forsyth Quilters and Piecers Guild Quilt Show. She wanted something special for this one. I spent a lot of time looking at this one before quilting. Carrie sent me quite a few Pinterest pins of ideas and I set to work.


 This quilt was so much fun to quilt, especially because each block is different and there is plenty of variety. Not to mention that Carrie's applique is perfect.


This block was easy to decide. Feathers, feathers, feathers.


The basket blocks are matching, with curved cross hatching on the baskets.


The stars gave me a bit of trouble. They still looked a little puffy after McTavishing the background, so Carrie gave me the idea to do the stars with the crossed lines.


The nine patch was a challenge as well. I wanted to do something a little bit different. Carrie liked the square theme and I filled in the sides with feathers.


I quilted feathers on the geese and threw some leafy vines on the applique backgrounds. All the applique pieces are outlined.


The larger flowers and leaves were a bit puffy after quilting, so they got some decorative quilting to accent them.


I had enough room on the large applique block to quilt vines on each side and I love, love, love how the outer border turned out. Carrie didn't really want traditional feathers, but suggested using the backing fabric as inspiration. Of course now I realize I didn't take a pic of the back, but it had a lot of different swirly flower and paisley designs that I used to create the border.


I stitched a traditional spine as if I were going to quilt feathers and then alternated 4 different floral motifs across the border.


I quilted these loopy swirls in place of feathers.


Then I went around the entire border one more time to quilt the little spikes in between the loops.

When it was all done, I looked it over and felt like I had just quilted a sampler. A little bit of all different kinds of designs. So much fun!

Thanks so much Carrie!

Sunday, March 16, 2014

Babyville Boutique Snap Pliers review


A friend of mine asked me if I would make her some bibs for her new baby. She had bought some bibs for the last baby and she absolutely loved them. They were kind of a thick vinyl and they had a bunch of plastic snaps so you could make a little pouch at the bottom to catch the crumbs. Hers were wearing down and she couldn't find the same kind anywhere.

I have never used these plastic snaps. I did try the metal ones, but they don't seem very sturdy and I've had a few come out. And who enjoys sewing velcro on bibs?

Joann Fabrics sells PUL fabric for making diapers, and they sell the Snap Pliers as well. I thought I would give them a try.


My first bib went wonderfully. Impressed with myself, I went to snap it and realized that I had put the snaps on the wrong way. I didn't realize there were two different flat pieces. The good news here is that once these snaps are on, they aren't coming off. And I do mean that literally. Nothing short of a pair of scissors is going to do the trick.

Included in the pack of snaps are 3 different pieces: a flat piece with a spike on it like a plastic tack (not pictures here), and two flat ones. Make sure you have one of each of these, male and female as it were. Otherwise they will look pretty and not snap together.


So now that you have your snaps lined up, you take the awl and poke a hole through your fabric where you want the snap. All the way through, mind you.


 Poke your plastic tack piece through so you can see the plastic popping up through the other side.


Pop your flat piece on top and then use the pliers to smoosh them together. The tack piece will go in the little black part of the pliers. Don't be afraid to give it a good squeeze.


In case you are wondering how the whole process works, here is a photo of the inside of the clear part of the pliers. The 'sharp' part of the tack goes through the flat piece and then gets squished inside so it won't go back through.


See, this baby is on good!


Here's the bib with all the snaps on.


 When it is all snapped up, you can see the crumb catching pouch at the bottom.

All in all, I give this product a thumbs up! They go for $19.95 at Joanns, with a pack of snaps around $10. I used my 40% off coupon. Well worth the money. Way better than hammering at the metal ones. I'm a happy customer.


Thursday, March 13, 2014

Annette and Shirley's quilts


Annette made this baseball quilt for her nephew.


I quilted baseballs on the gray blocks.


And bats on the red blocks.


With loopy wiggles and straight lines on the borders.


And a number 2 on one block (that is his number).


Shirley made this quilt for her grandson, who loves Mickey Mouse.


I'm seeing a trend in little boy fabrics. Gray and red must be the new thing;)


These crocuses in my garden make me smile and remember that spring is indeed approaching...


Even though it still feels like this!

Thanks Annette!
Thanks Shirley!

Monday, March 3, 2014

Jupiter Beach


Here is the quilt the second cousin who is getting married this year. It isn't very big, only about 12 x 16, but it is heavily thread sketched.


This is the invitation she sent me. I immediately recognized it as the beach by the Jupiter Resort where she is getting married. I'm pretty sure I have a picture of my family standing in that same spot. I had planned on quilting her a landscape, and I thought it would be fun to try to reproduce the scene from the invitation.

Now where to start?

Most of my landscapes have been made using Karen Eckmeier's Accidental Landscapes book.

However, I had bought Susan Brubaker Knapp's book, Point, Click, Quilt!, and had been dying to try it out. This book is great if you have a photo that you want to reproduce as a quilt. I had started on a water lily, but made the mistake of using the wrong fusible web. Needless to say, my Babylock won't quilt through that and the project had been abandoned. I figured this was my chance to try again.


I decided to combine both books. Lay out the background with Accidental Landscapes and Point, Click, Quilt! for the trees and bushes. I made my background and laid it out on the interfacing.

Now for the hard part. I needed a photo of the trees so I could trace the lines. I did take the invitation to the library and proved to myself that enlarging photos on fancy copiers is not my strong point. Somehow I managed to make the image even smaller. It then occurred to me that I have a perfectly acceptable camera and a working printer at my own house.

I used the close-up feature on my camera and picked one side of the invitation to zoom in. I printed it out and did the same for the other side.

I now had both sides of the trees the right size and ready for tracing.

I do not have any template plastic, but I do have loads of those little plastic sleeves with the 3 holes that you put in binders. I cut the edges off so I would have two pieces and traced the images.


Then I laid them over the background so I could get an idea of how it was going to look. I was getting really excited at this point. It was beginning to look like I could pull this off. I did have to add another piece of sand fabric to the right side, but no big deal.


After what felt like countless hours of cutting out fabric with tiny applique scissors (and a few red calluses too), I was able to fuse the trees and bushes on. Ideally this is done with Steam-a-seam 2 Lite. And I do mean 'Lite'. If you use the regular Steam-a-seam 2, good luck getting your needle to go through it later. All I had in the house was Wonder Under and I wanted to use it up. It works almost as well. The only difference is that the pieces to be fused don't lay as nicely. There's no grip on the back, so they shift easily. I had to go slowly and very carefully to make sure the pieces didn't move after I laid them where I wanted them.


Then came the fun part, thread sketching! It was a great opportunity to use up some of those Connecting Threads cones that I have. I had the whole collection of colors while I was quilting on my Jane, but it doesn't work well in the George. So I used Jane for the thread sketching. The tedious part of this is constantly changing colors.

Another thing I should have done was quilt the sky and the background before fusing on the trees. Hindsight is a wonderful thing. I had to keep stopping and starting lines. Very frustrating!


I'm still not sure I'm totally happy with the shading on the trees, but I'm not a painter, and this was as far as I was willing to go at that point. I did get the sky right though, if I do say so myself. I especially like the little bit of yellow at the horizon.


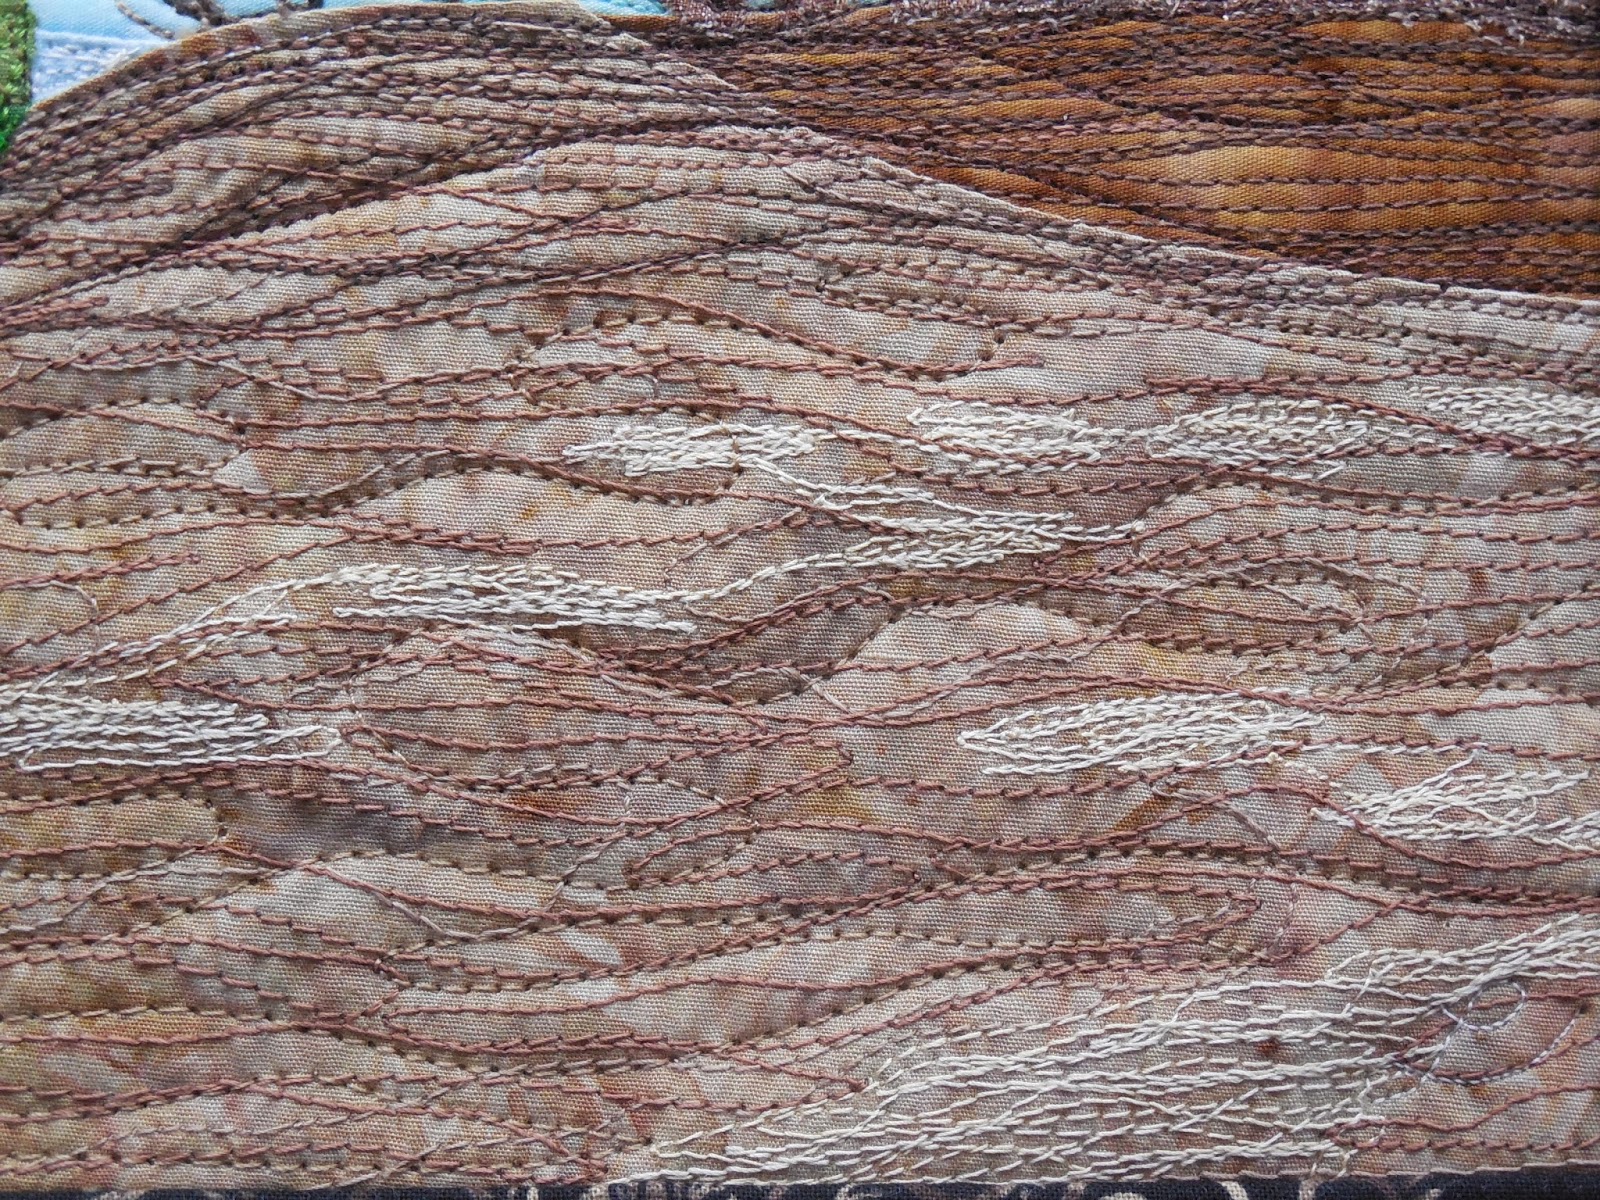
The sand is also heavily thread sketched to capture the shadows and the light coming through the trees.


I enjoyed capturing the light on the tree trunks. I think that turned out well.


The big bush, not so much. That bush was fused onto a very thick background though and it wasn't easy to get the needle through it. Maybe the layered background technique wasn't the best approach. It was a little too dense. I had to use George to quilt it when the sketching was done.


So there is the end result. You can see that the quilt is zoomed in a bit more than the invitation. That was not planned, but I'm glad of it. All those branches! I shudder! All in all, I'm happy with the result. I was sad to mail it away, but I hope my cousin will like it.


Double minky!


My friend Debbie gave Beth my number when she was looking for a quilter. Beth brought me these two pieces of minky to put together. She wanted a little more variety than just straight lines.


We decided on a swirly paisley floral design to match the design on the pink minky. I've quilted a baby quilt with minky on the back, but not on both sides. It was a little cumbersome to quilt, but not too bad. This is definitely one of those kind of quilts that you start quilting from the middle and work your way out. Preferably using a large design. Precision quilting probably wouldn't work too well, at least on a domestic machine.

The quilting really sunk in on the pink side. It ends up as a cool kind of echo of quilting. When I was growing up, my grandparents had this light beige carpet that you could 'draw' on. I would take my finger and make a circle on the carpet and it would stay there as a definite design. This reminded me of that.


But it showed up great on the back. And so soft! Love this stuff!

Thanks Beth!

And thanks Debbie for the referral:)